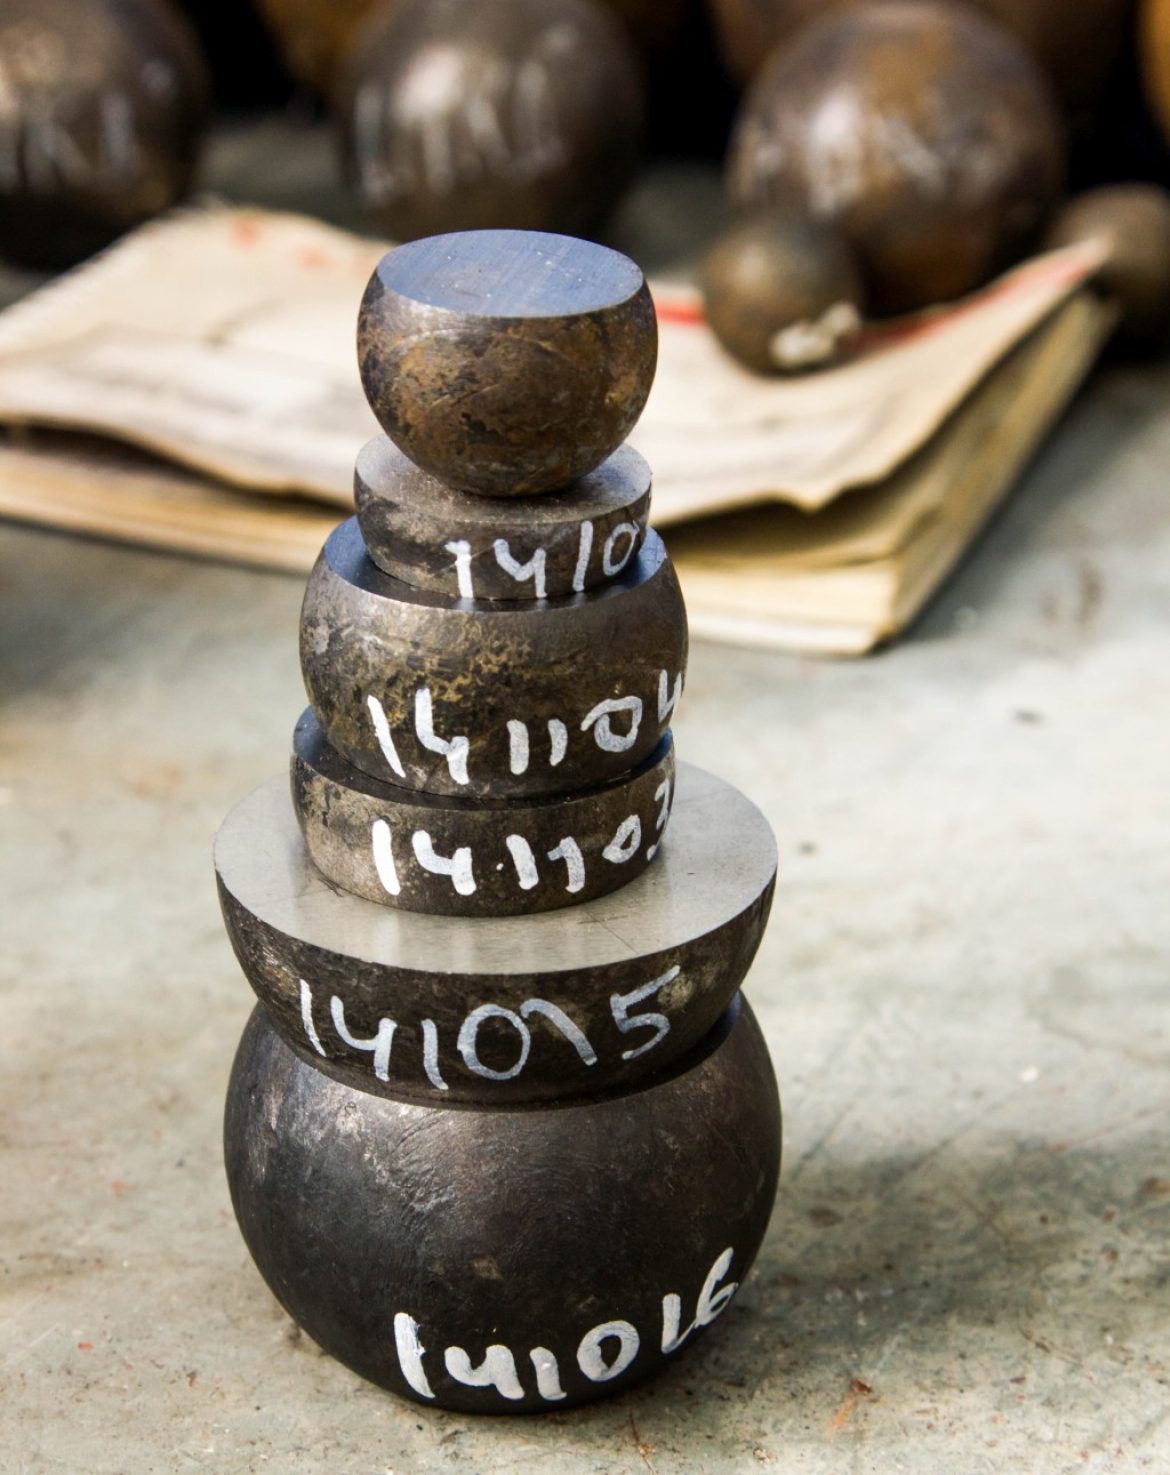
According to the requirements of GOST 9013-59 the roughness of the sample surface (or surface area) for measure hardness of the product Ra should not exceed 2,5 mm, unless otherwise specified in the standard technical documentation for metal. The sample should be prepared in such a way that its properties have not changed as a result of mechanical or other treatment.
Grinding on the surface grinder is the best way of preparation the grinding ball surface for hardness measure.
Grinding machine designed for the effective conduct of grinding the metal details by special abrasive tool (grinding wheels). Metal details fixed on a table of surface grinder. For grinding balls done special matrix, it placed from 2 to 5 pieces, depending on the diameter of the balls. The grinding balls grinded simultaneously.
A working cutting movement consists as follows – the fixed grinding balls on a table in a matrix moved relative to the cutting tool and thus occurs machining surface abrasive balls.
Surface grinding includes the following working movements:
- cutting tool rotation,
- longitudinal and transverse feed ball,
- ball move toward cutting grinding wheel.
In the grinding, place of contact the ball with grinding wheel fed coolant, because it helps prevent overheating and distortion of the surface hardness measurement results.
Based on many years experience, concluded that the grinding wheels 25A PP 250h40h76 25SM is most suitable.


