La forma correcta de medir la dureza en las muestras de bolas de acero de los grupos de dureza 1–4
26.01.2017
The delegation “Energosteel” in the Mining Turkey 2016 Fair
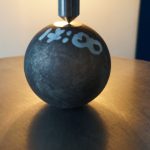
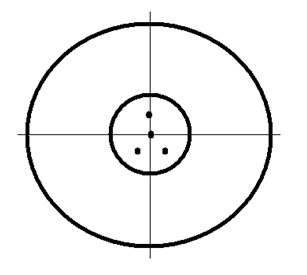
02.02.2017The surface hardness of grinding balls define on two diametrically opposite platforms. In determining, the hardness at each platform perform four measurements.
The first three measurements performed at the vertices of imaginary equilateral triangle with a side length from 6 to 8 mm. These measurements are tentative and the results are not recorded in the test report. The fourth measurement carried out in the center of the triangle (Picture 1). The result of this measurement recorded in the test report.

Picture 1. Execution scheme the hardness measurements on each platforms of grinding ball
Hardness of the grinding ball defined as the average value of measurements both surfaces.
Hardness batch of grinding balls defined as average value of hardness 10 of grinding balls selected from the batch.
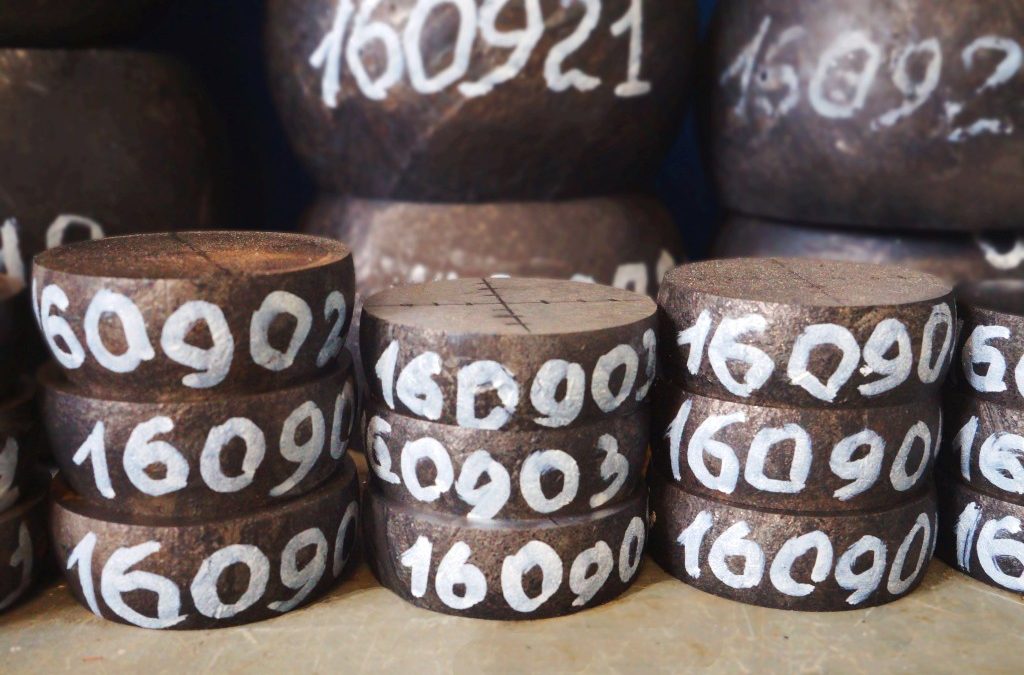
For confirmation the grinding ball to the 4th group of hardness carried out further hardness measurement at depth 1/2 radius of the grinding ball.
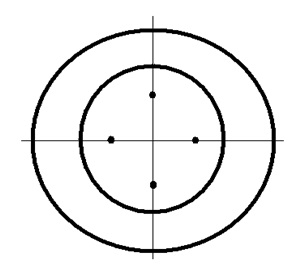
At distance of 1/2 radius perform four hardness measurements on two mutually perpendicular lines. The minimum and the maximum hardness values ignore, and the hardness defined as arithmetic average value of the other two dimensions (Picture 2).

Picture 2. Execution scheme the hardness measurements on platforms of grinding ball (distance of 1/2 radius)
Upon receipt the results of measurements with different values of hardness (more than 10%) should further check the quality of surface preparation. If necessary, make additional surface treatment and re-measurement hardness of grinding ball.


